DIY Home Decor
Making your home beautiful doesn’t have to cost a fortune or require hiring expensive designers. With some creativity, basic tools, and the right approach, you can transform any space into something amazing. This guide will show you everything you need to know about decorating your home yourself.
Why Choose DIY Home Decor?
When you decorate your home yourself, you save money and create something truly personal. Every piece you make tells your story and reflects your style in ways that store-bought items never can.
DIY projects also make you feel positive about yourself. There’s something special about completing a project with your hands. It builds confidence and gives you a real sense of accomplishment. Plus, working on creative projects helps reduce stress and makes you feel more relaxed.
The money you save is significant too. Interior designers charge between $50 and $200 per hour. A complete room makeover can cost thousands of dollars. Most DIY projects cost less than $100 in materials, which means you can afford to do multiple rooms or buy better quality supplies.
Getting Started: Tools and Materials You Need
Success in DIY projects starts with having the right tools and materials. While buying tools might seem expensive at first, good ones last for years and help you complete many different projects.
Essential Tools for Beginners
Basic Power Tools: A cordless drill is the most important tool you’ll need. It helps you make holes, install screws, and do light demolition work. Please consider selecting one with variable speed control to help prevent damage to your materials.
Measuring Tools: A good level ensures your pictures hang straight and your shelves don’t slant. Digital levels are more accurate than traditional bubble levels. A tape measure is essential for measuring spaces and materials correctly.
Cutting Tools: Sharp utility knives with replaceable blades, excellent scissors, and basic saws help you cut materials cleanly. Clean cuts make your finished projects look professional.
Safety Equipment: Always wear safety glasses and work gloves. Use dust masks when sanding and ear protection with loud power tools. Safety should never be optional.
Choosing the Right Materials
Understanding different materials helps you make smart choices that balance cost, durability, and appearance.
Wood Options: Pine and poplar are affordable choices for painted projects. Hardwoods like oak and maple cost more but look beautiful when stained. Medium-density fiberboard (MDF) gives smooth surfaces perfect for painting but needs sealing to prevent water damage.
Fabric Choices: Natural fibers like cotton and linen breathe well and age beautifully. Synthetic blends are more durable and resist stains better, making them suitable for busy areas.
Paint and Finishes: Good primers help paint stick better and last longer. Water-based paints clean up easily and have less odor. Oil-based paints are more durable but take longer to dry and need special cleanup.
Room-by-Room Decorating Ideas
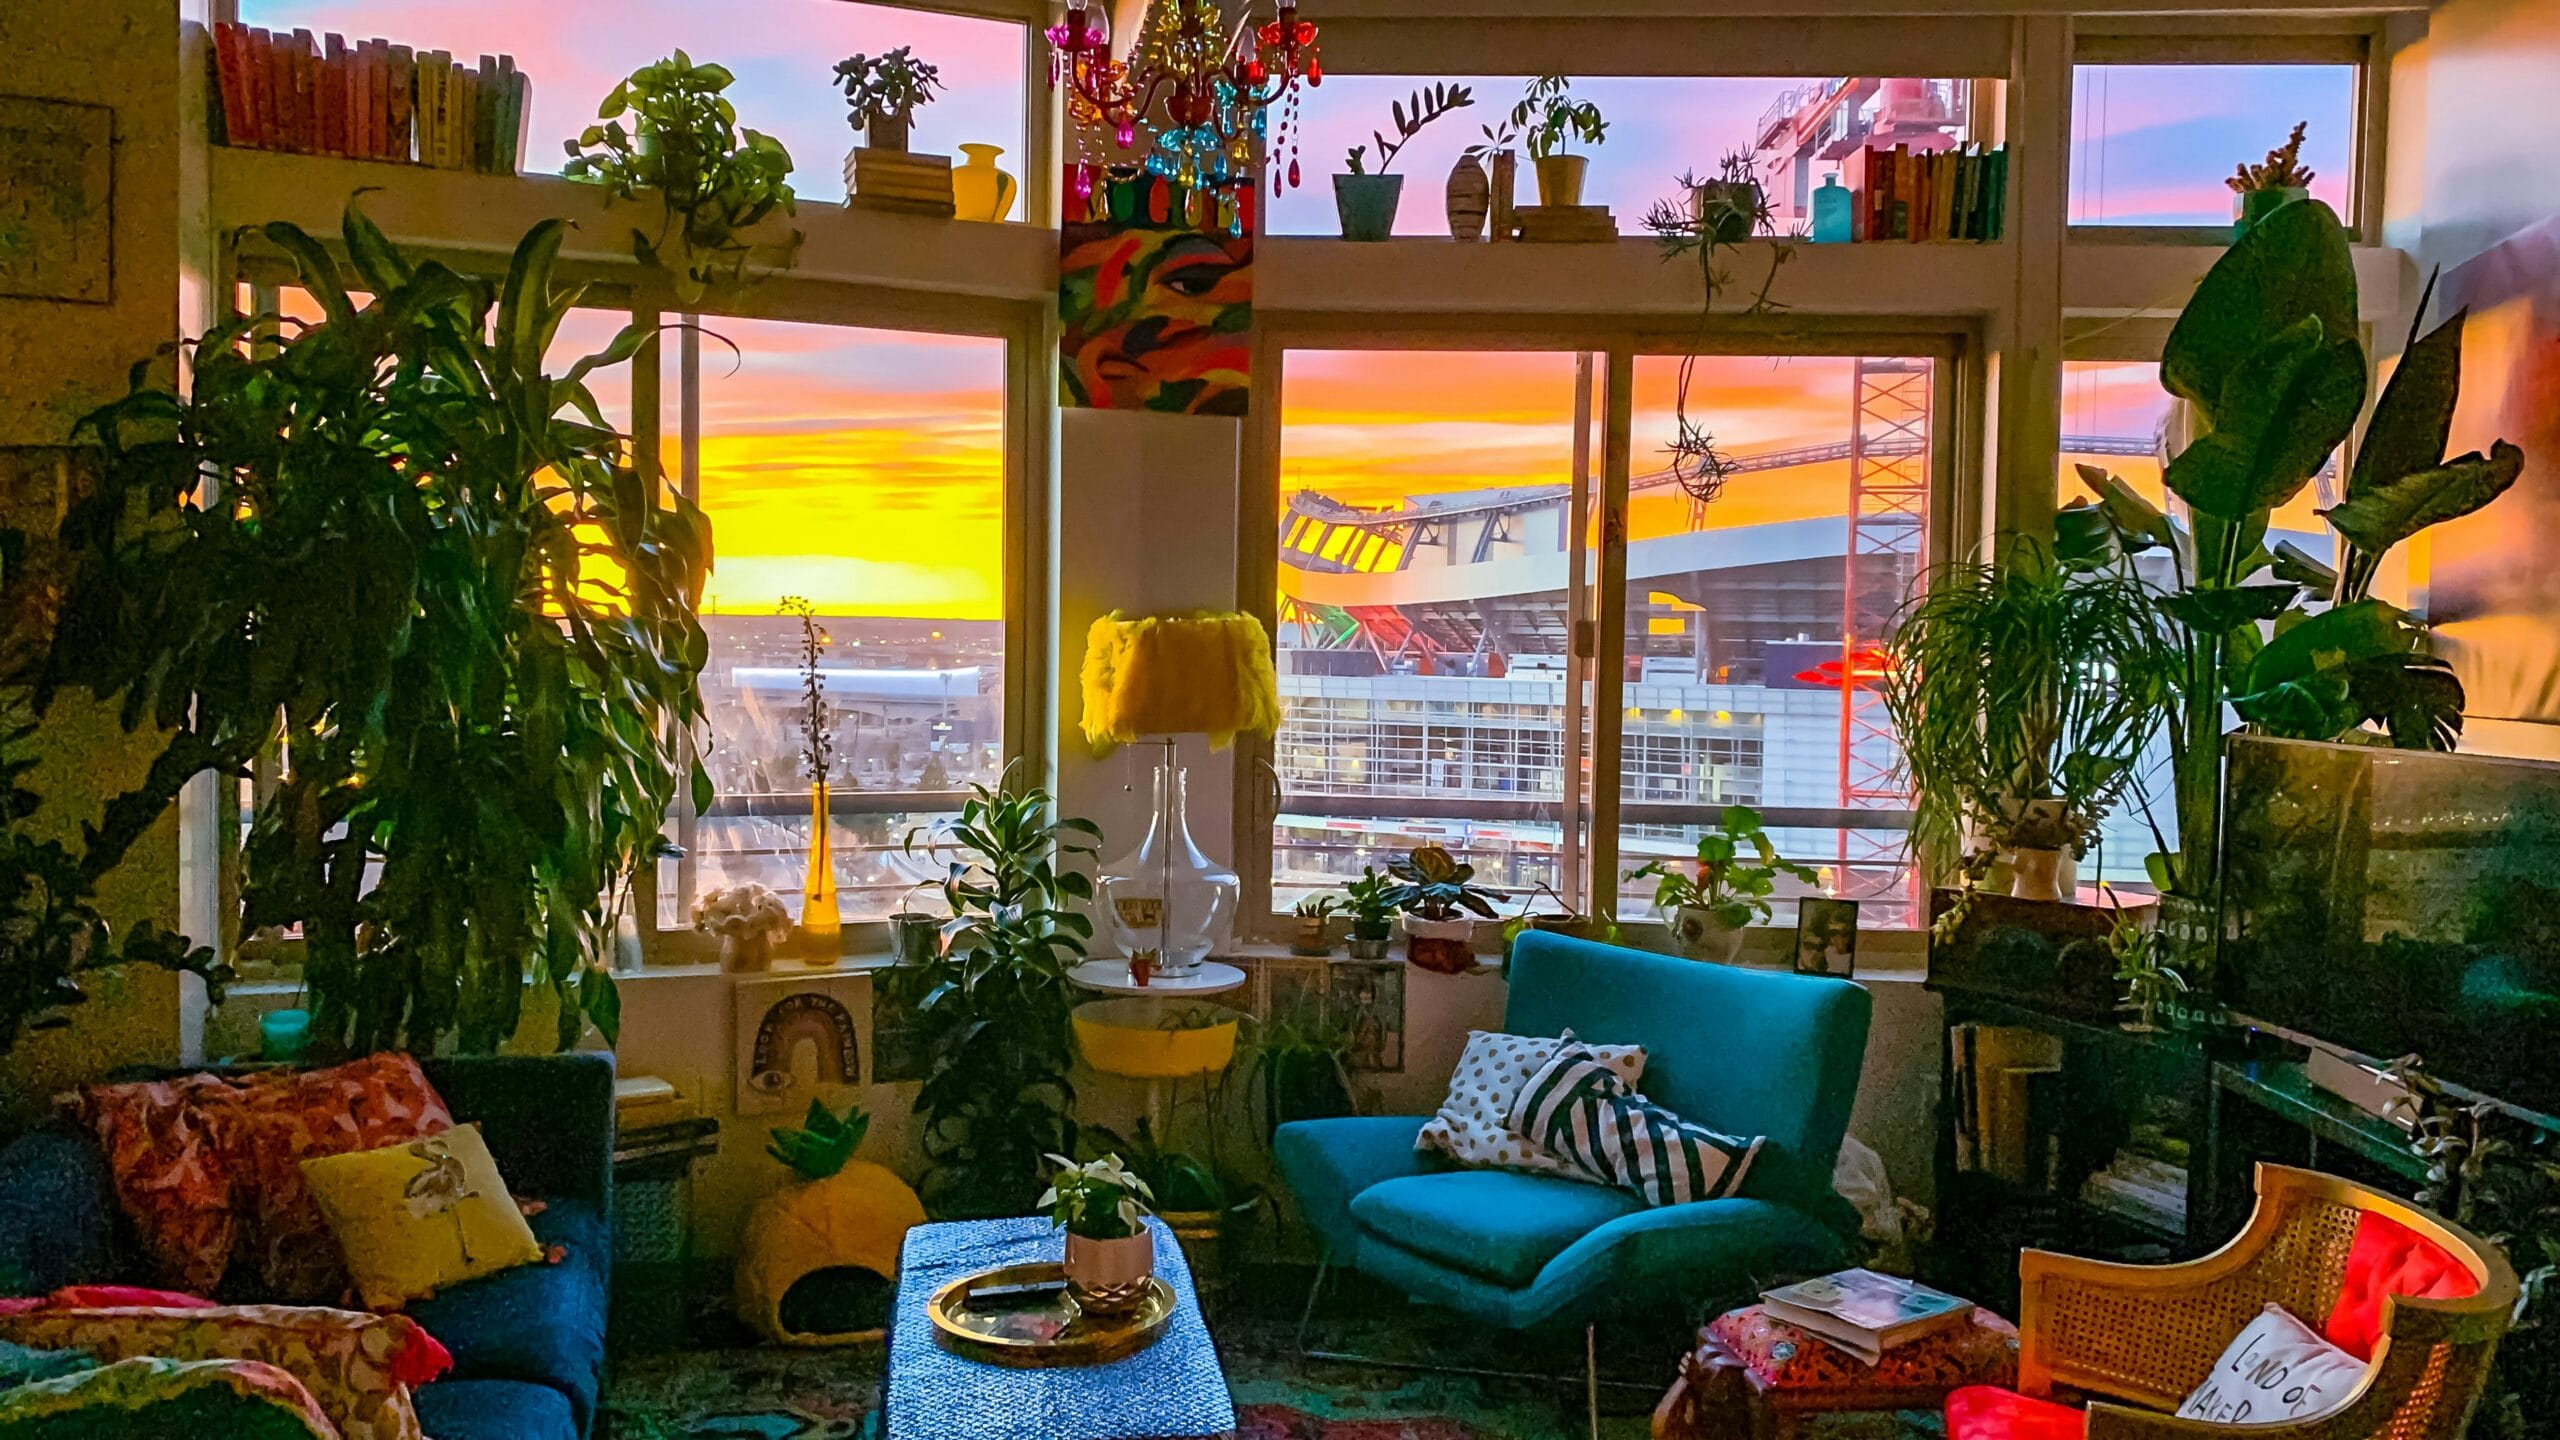
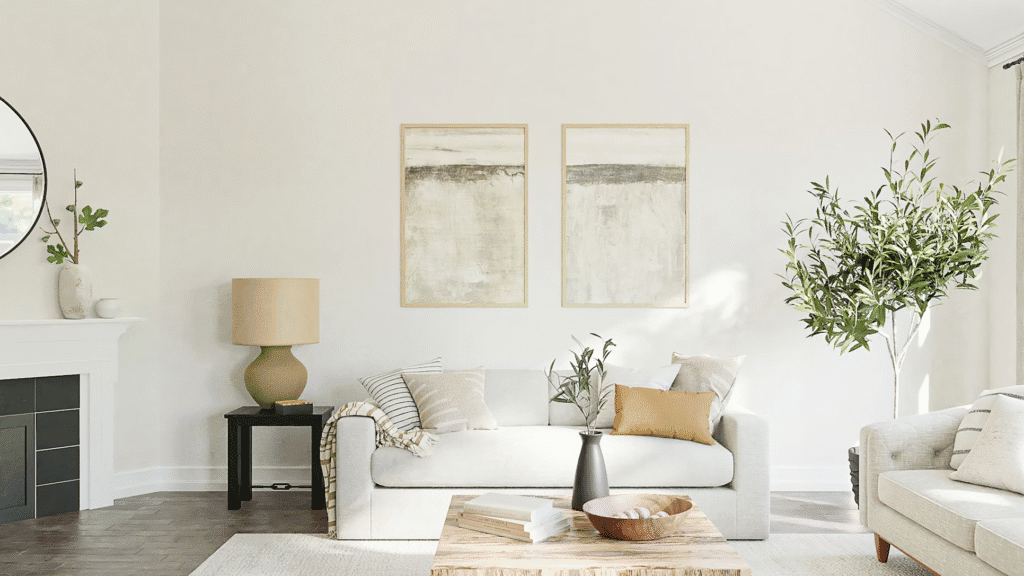
Living Room Transformations
Your living room is where family and friends gather, so it needs to be both beautiful and comfortable. Focus on creating a space that works for conversation and relaxation.
Creating Gallery Walls: Start by cutting paper templates the same size as your picture frames. Tape these to the wall and move them around until you like the arrangement. Keep 2-3 inches between frames for the best look. Once you are satisfied with the layout, please nail through the paper and then remove it.
Window Treatments: Custom curtains can entirely change how a room feels. They control light and add color and texture. Lined curtains block more light and help with temperature control. Unlined curtains create a softer, more casual look.
Furniture Arrangement: Arrange furniture to encourage conversation while keeping walkways clear. Make sure people can make eye contact easily when sitting, but don’t crowd furniture together too tightly.
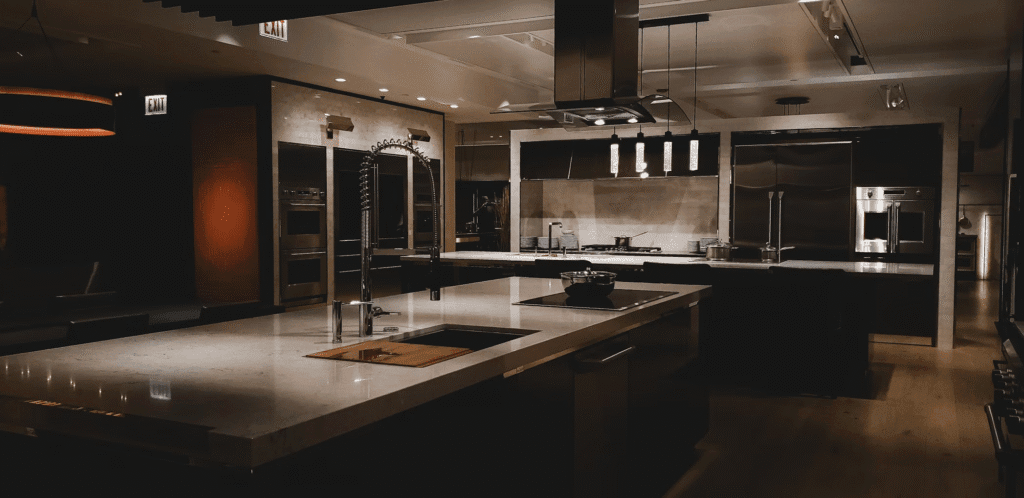
Kitchen Updates That Make a Difference
Kitchen improvements give you the biggest return on your investment because this room is so important in daily life. Focus on changes that improve both function and appearance.
Cabinet Hardware: Replacing cabinet handles and knobs gives instant results for very little money. Bigger pulls and mixed metal finishes are popular now, but choose styles that match your kitchen’s overall look. Measure carefully and drill pilot holes to keep everything aligned.
Backsplash Projects: Modern peel-and-stick tiles look professional and are easy to install. Clean and smooth your wall surface first for the best adhesion. Even with stick-on tiles, adding grout lines makes them look more authentic.
Lighting Improvements: Good kitchen lighting combines different types of lights. Under-cabinet LED strips provide task lighting for cooking while creating a warm glow. Pendant lights over islands serve both practical and decorative purposes. Hang them 30-36 inches above the counter surface.
Bedroom Makeovers
Bedrooms should feel peaceful and personal. Focus on comfort and organization while reflecting your style.
DIY Headboards: Build your own headboard for the perfect fit and style. Cut plywood to your desired size, add foam padding for comfort, and cover with fabric using a staple gun. Add batting between the foam and fabric for a professional upholstered look.
Lighting Design: Layer different types of lighting for versatility. Combine overhead lights with table lamps and accent lighting. LED lighting lets you adjust brightness for reading, relaxing, or creating a romantic mood. Dimmer switches give you even more control.
Storage Solutions: Built-in storage keeps bedrooms organized and clutter-free. Under-bed storage boxes, floating shelves, and hidden organizational systems provide practical storage without making the room feel crowded.

Advanced DIY Projects
Furniture Restoration
Restoring furniture combines preserving quality construction with updating the look for today’s style. Success requires understanding how the piece was originally built and using appropriate restoration techniques.
Surface Preparation: Good preparation determines how your final finish will look. Chemical strippers remove multiple paint layers efficiently, but you need good ventilation and proper disposal. For smooth surfaces prepared for new finishes, sand from coarse to fine grits.
Choosing Finishes: Oil-based stains soak into wood fibers and enhance natural grain patterns. Water-based stains dry faster and clean up easier. Protective topcoats should match how much wear the piece will get. Polyurethane provides maximum durability for high-use surfaces.
Adding Architectural Details
Wainscoting Installation: Traditional wainscoting adds visual interest while protecting walls. Proper installation accounts for wood movement due to temperature and humidity changes. Board-and-batten styles offer farmhouse charm and are more forgiving for beginners.
Crown Molding and Trim: Professional-looking trim requires precise cuts and proper corner techniques. A quality miter saw significantly improves results. Coping saws help create perfect inside corners that stay tight even as the building settles.
Seasonal Decorating
Warm Weather Changes
Spring and summer decorating emphasizes lightness and natural materials. Replace heavy fabrics with lighter alternatives for immediate seasonal transitions. Fresh flowers and potted plants bring nature indoors while improving air quality.
Cold-weather comfort
Fall and winter decorating focuses on warmth and texture. Add wool throws, soft pillows, and cozy accents for physical and visual warmth. Increase candle use and lamp lighting to compensate for shorter daylight hours.
Budget Planning and Project Management
Smart Financial Planning
Different investment levels give different results:
- $25-75: Accessories and paint touch-ups for immediate visual refresh
- $76-200: Room accent features and lighting updates for significant improvement
- $201-500: This budget range covers furniture projects and significant room elements that can lead to a dramatic transformation.
- $501+: Custom built-ins and major renovations for professional-level results
Timeline Management
Most DIY projects take 25–50% more time than you initially think, especially when learning new skills. Please consider allocating additional time in your schedule to accommodate learning curves and unforeseen challenges. Such planning prevents frustration and ensures quality results.
Safety and Best Practices
Staying Safe
Professional safety practices protect against both immediate injury and long-term health problems. Proper ventilation is critical when using paints, stains, or adhesives. Prolonged exposure to chemical fumes can cause breathing problems or allergic reactions.
Keep tools in excellent condition for safety and performance. Sharp blades need less force, reducing accident risk while producing cleaner cuts. Clean tools regularly and store them properly to prevent rust and mechanical failure.
Chemical Safety
Never mix different cleaning products or finishing materials unless the manufacturers specifically say it’s safe. Store all chemicals in their original containers with labels intact. Keep them at proper temperatures to prevent dangerous reactions or pressure buildup.
Professional-Quality Finishing
Surface Preparation Excellence
Good sanding creates surfaces ready for professional-quality finishes. Start with coarse grits (80-100) for initial shaping, move to medium grits (120-150) for smoothing, and finish with fine grits (220-320) for final preparation.
Choose the right primer for your surface. High-adhesion primers stick to difficult surfaces like glossy paint and metal. Stain-blocking primers prevent wood tannins and water stains from showing through your topcoat.
Application Techniques
Professional painting results depend on proper tools and technique. Quality brushes maintain sharp lines and smooth coverage without brush marks. Choose roller nap length based on surface texture—smooth surfaces need short nap, and textured surfaces need longer nap.
While spray application requires more equipment, it provides superior finishes for furniture and cabinets. Maintain consistent distance and overlap patterns while avoiding overspray contamination.
Eco-Friendly DIY Approaches
Environmental Responsibility
Modern DIY practices increasingly focus on environmental sustainability. Reclaimed materials offer unique character while reducing environmental impact. Check salvage yards and architectural salvage companies for quality materials at reduced costs.
Choose low-VOC (Volatile Organic Compound) products to maintain indoor air quality. Water-based paints, natural oil finishes, and formaldehyde-free materials keep your home’s air clean while reducing environmental impact.
Plan projects carefully to reduce waste through accurate measurements and efficient cutting. Consider donating any surplus materials to community organizations, schools, or fellow DIY enthusiasts rather than discarding them.
Using Technology in DIY Projects
Digital Planning Tools
Modern DIY projects benefit from digital planning tools that let you visualize changes before buying materials. Room design apps let you experiment with furniture arrangements. Color visualization tools prevent expensive color mistakes.
Smartphone apps use augmented reality to overlay design changes onto your existing space, giving realistic previews of proposed changes. These tools are especially valuable for major changes like wall colors or furniture placement.
Smart Home Integration
Smart lighting systems provide precise control over ambiance while saving energy. Programmable systems adjust lighting throughout the day, supporting natural sleep rhythms while reducing electricity use.
Smart thermostats learn your schedule and preferences, optimizing comfort while minimizing energy use. Integrating with other smart home systems allows for comprehensive environmental control using a single interface.
Building Your Skills
Learning Progressively
Successful DIY enthusiasts recognize that skill development is an ongoing process requiring patience and systematic progression. Start with simple projects to build confidence while developing fundamental techniques for more complex projects.
Local community colleges often offer woodworking, upholstery, and home improvement courses with hands-on instruction and professional guidance. These programs provide access to professional-grade equipment while building skills in supportive environments.
Online learning resources provide expert instruction covering virtually every aspect of home improvement and decoration. Video tutorials allow repeated viewing of complex techniques while building comprehensive skill libraries.
Community and Mentorship
Experienced DIY practitioners often welcome opportunities to share knowledge with beginners, creating valuable mentorship relationships that speed learning while building community connections. Local maker spaces and community workshops facilitate these relationships while providing access to specialized tools.
Making DIY a lifestyle.
DIY home decoration represents more than simple cost savings. It embodies a lifestyle philosophy that values creativity, self-reliance, and personal expression. Through systematic skill development and thoughtful project selection, you can achieve professional-quality results while developing valuable capabilities.
The journey from beginner to accomplished DIY practitioner requires patience, persistence, and a willingness to learn from both successes and failures. Each completed project builds confidence while developing skills for increasingly ambitious projects. The satisfaction from creating beautiful, functional spaces with personal effort creates lasting connections between you and your living environment.
Your home serves as a canvas for personal expression and creativity. Through thoughtful DIY projects that reflect your individual style while meeting practical needs, you create spaces that truly support and enhance daily life. The investment in skills, tools, and materials pays off through years of creative satisfaction and beautiful living environments that tell your unique story.
Start with simple projects, learn from mistakes, and gradually build your skills. The most important thing is to enjoy the process of creating something beautiful with your hands. Every expert was once a beginner, and with patience and practice, you can transform your home into the beautiful, personal space you’ve always wanted.
Final Thoughts
DIY home decor isn’t just about saving money—it’s about creating a space that reflects your personality, values, and creativity. Whether you’re repainting a wall or building custom furniture, every project adds a layer of meaning to your home. Start small, stay safe, and enjoy the journey. Your dream home is just a few projects away.
Frequently Asked Questions
Getting Started
Q: What’s the easiest DIY project for a complete beginner? A: Start with simple painting projects like painting an accent wall or refreshing old picture frames. These require few tools, cost little, and give you immediate visible results that build confidence.
Q: How much money should I budget for my first project? A: Budget $25-75 for your first project. This amount covers basic supplies like paint, brushes, or simple craft materials. As you gain experience, you can tackle bigger projects in the $100-300 range.
Q: What tools do I absolutely need to start? A: Essential beginner tools include a cordless drill, level, tape measure, utility knife, decent scissors, safety glasses, and work gloves. You can add specialized tools as you take on different projects.
Planning and designing
Q: How do I choose colors that work together? A: Use the 60-30-10 rule: 60% main color (walls), 30% secondary color (furniture), and 10% accent color (accessories). Test paint samples in different lighting before making final decisions.
Q: How do I make a small room look bigger? A: Use light colors, add mirrors to reflect light, choose furniture with visible legs, and use vertical storage. Keep clutter minimal and ensure adequate lighting throughout the space.
Q: Should I follow trends or stick to classic styles? A: Mix both approaches. Use classic elements as your foundation (neutral walls, quality furniture) and add trendy touches through easily changeable items like pillows and artwork.
Common Problems
Q: My paint isn’t covering evenly. What went wrong? A: Common causes include skipping primer, using cheap paint, or painting over glossy surfaces without proper preparation. Clean the surface, apply primer, and use quality paint in thin, even coats.
Q: How do I correct mistakes without starting over? A: Most mistakes can be fixed. Sand paint drips smooth when dry. Additional coats can lighten or even out an uneven stain. Learn from what went wrong and avoid repeating mistakes.
Q: When should I hire a professional instead of doing it myself? A: Call professionals for electrical work, plumbing, major structural changes, or anything requiring permits. If a mistake could be dangerous or costly to fix, professional help is worth the cost.
Maintenance and Safety
Q: How do I maintain my DIY projects? A: Clean regularly with appropriate methods for each material. Keep extra paint for touch-ups. Tighten loose hardware periodically. Reapply protective finishes as needed on high-use items.
Q: What safety equipment do I really need? A: Never skip safety glasses and work gloves. Add dust masks when sanding, ear protection for power tools, and ensure adequate ventilation when using paints or chemicals.
Q: How long should my DIY projects last? A: With quality materials and proper techniques, most projects should last several years. Regularly check joints and connections during the first few months to ensure everything remains secure.
Disclaimer
This guide provides general information about DIY home decoration projects. Strive for accuracy, as individual results may vary depending on skill level, the materials used, and specific circumstances. Always prioritize safety by wearing appropriate protective equipment and following manufacturer instructions for all tools and materials.
For projects involving electrical work, plumbing, structural modifications, or anything requiring building permits, consult licensed professionals. Some DIY projects may affect home insurance coverage or resale value, so check with relevant parties before beginning major modifications.